|
← Revision 9 as of 2013-01-31 00:42:51
Size: 7559
Comment:
|
← Revision 10 as of 2013-01-31 15:50:29 →
Size: 7767
Comment: Minor changes
|
| Deletions are marked like this. | Additions are marked like this. |
| Line 5: | Line 5: |
| Most functionalities are self evident, but we'll go through a thorough explanation for clarity. | |
| Line 12: | Line 13: |
| The network management and attribute browser panels are dockable tabbed panels known as !CytoPanels. You can undock any of these panels by clicking on the Float Window control {{attachment:float_icon.png}} in the upper-right corner of the !CytoPanel. | The network management and attribute browser panels are dockable tabbed panels known as !CytoPanels. You can undock any of these panels by clicking on the Float Window control {{attachment:float_icon.png}} in the upper-right corner of the !CytoPanel. This is useful when you want assign the network panel as much screen space as possible. |
| Line 14: | Line 15: |
| If you select this control, e.g. on the attribute browser panel, you will now have two Cytoscape windows, the main window, and a new window labeled !Table Panel, similar to the one shown below. Popup will be displayed when you put the mouse pointer on a cell. | If you select this control, e.g. on the attribute browser panel, you will now have two Cytoscape windows, the main window, and a new window labeled !Table Panel, similar to the one shown below. A popup will be displayed when you put the mouse pointer on a cell. |
| Line 20: | Line 21: |
| Cytoscape also has an edit functionality that enables you to build and modify networks interactively. To edit a network, just right click on the open space of network window, select the menu item "Add" -> "Node", a new node will be added to the canvas. To add an edge, right click on a node, choose the menu item "Edit" --> "Add Edge". Then select the target node, a new edge will be added between the two nodes. | Cytoscape also has an edit functionality that enables you to build and modify networks interactively within the network canvas. To edit a network, just right click on the open space of network window, select the menu item "Add" -> "Node", a new node will be added to the canvas. To add an edge, right click on a node, choose the menu item "Edit" --> "Add Edge". Then select the target node, a new edge will be added between the two nodes. |
| Line 59: | Line 60: |
| ''In previous versions of Cytoscape, apps were called plugins and served a similar function, though apps are not compatible with plugins.'' | ''In previous versions of Cytoscape, apps were called plugins and served a similar function. However, apps are not compatible with plugins.'' |
| Line 91: | Line 92: |
|
|
When a network is loaded, Cytoscape will look something like the image below:
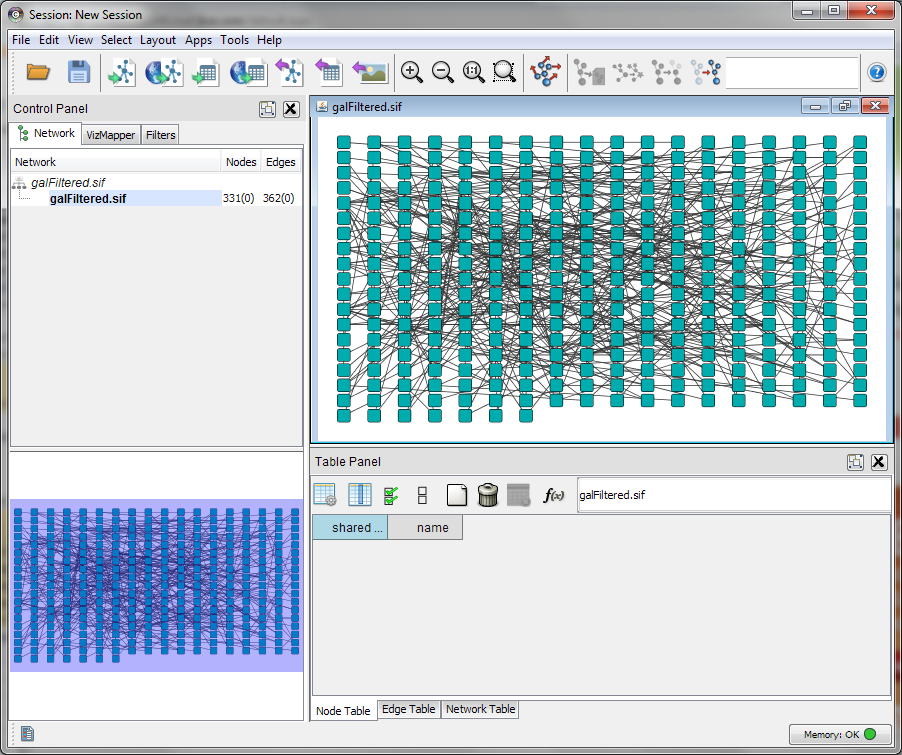
Most functionalities are self evident, but we'll go through a thorough explanation for clarity. The main window here has several components:
- The menu bar at the top (see below for more information about each menu).
- The toolbar, which contains icons for commonly used functions. These functions are also available via the menus. Hover the mouse pointer over an icon and wait momentarily for a description to appear as a tooltip.
- The network management panel (top left panel). This contains an optional network overview pane (shown at the bottom left).
- The main network view window, which displays the network.
- The attribute browser panel (bottom panel), which displays attributes of selected nodes and edges and enables you to modify the values of attributes.
The network management and attribute browser panels are dockable tabbed panels known as CytoPanels. You can undock any of these panels by clicking on the Float Window control ![]() in the upper-right corner of the CytoPanel. This is useful when you want assign the network panel as much screen space as possible.
in the upper-right corner of the CytoPanel. This is useful when you want assign the network panel as much screen space as possible.
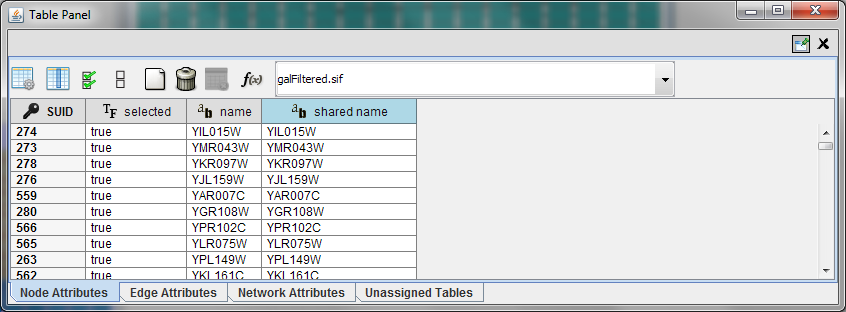
If you select this control, e.g. on the attribute browser panel, you will now have two Cytoscape windows, the main window, and a new window labeled !Table Panel, similar to the one shown below. A popup will be displayed when you put the mouse pointer on a cell.
Note that !Table Panel now has a Dock Window control. If you select this control, the window will dock onto the main window.
Cytoscape also has an edit functionality that enables you to build and modify networks interactively within the network canvas. To edit a network, just right click on the open space of network window, select the menu item "Add" -> "Node", a new node will be added to the canvas. To add an edge, right click on a node, choose the menu item "Edit" --> "Add Edge". Then select the target node, a new edge will be added between the two nodes.
The Menus
File
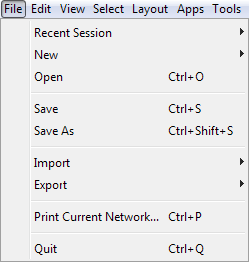
The File menu contains most basic file functionality: File → Open for opening a Cytoscape session file; File → New for creating a new network, either blank for editing, or from an existing network; File → Save for saving a session file; File → Import for importing data such as networks and attributes; and File → Export for exporting data and images. Also, File → Print Current Network... allows printing, while File → Quit closes all windows of Cytoscape and exits the program.
Edit
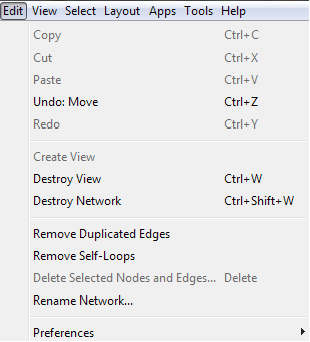
The Edit menu contains Undo and Redo functions which undo and redo edits made in the Attribute Browser, the Network Editor and to layout.
There are also options for creating and destroying views (graphical representations of a network) and networks (the raw network data – not yet visualized), as well as an option for deleting selected nodes and edges from the current network. All deleted nodes and edges can be restored to the network via Edit → Undo. Editing preferences for properties and apps is found under Edit → Preferences → Properties... .
View
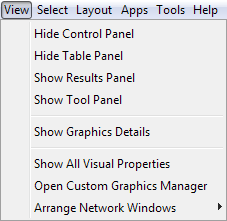
The View menu allows you to display or hide the network management panel (Control panel), the attribute browser (Table panel), Tool panel and the Result Panel. And provides the control of other view related functionality.
Select
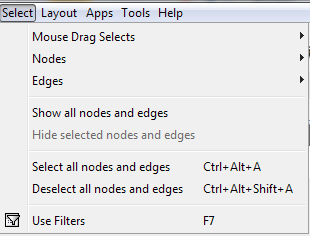
The Select menu contains different options for selecting nodes and edges. It also contains the Select → Use Filters option, which allows filters to be created for automatic selection of portions of a network whose node or edge attributes meet a filtering criterion.
Layout
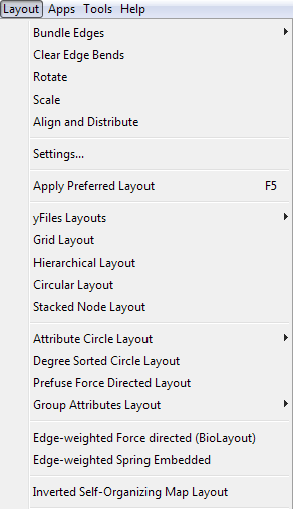
The Layout menu has an array of features for visually organizing the network. The features in the top portion of the network (Bundle Edges, Rotate, Scale, Align and Distribute) are tools for manipulating the network visualization. The bottom section of the menu lists a variety of layout algorithms which automatically lay a network out.
Apps
The Apps menu contains option for managing (install/update/delete) your apps and may have options added by apps that have been installed. Depending on which apps are loaded, the apps that you see may be different than what appear here.
Note: A list of available Cytoscape apps with descriptions is available online at: http://apps.cytoscape.org |
In previous versions of Cytoscape, apps were called plugins and served a similar function. However, apps are not compatible with plugins.
Help
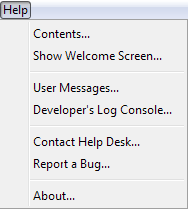
The Help menu allows you to launch the online help viewer and browse the table of contents for this manual. The “About…” option displays information about the running version of Cytoscape.
Network Management
Cytoscape allows multiple networks to be loaded at a time, either with or without a view. A network stores all the nodes and edges that are loaded by the user and a view displays them.
An example where a number of networks have been loaded is shown below:
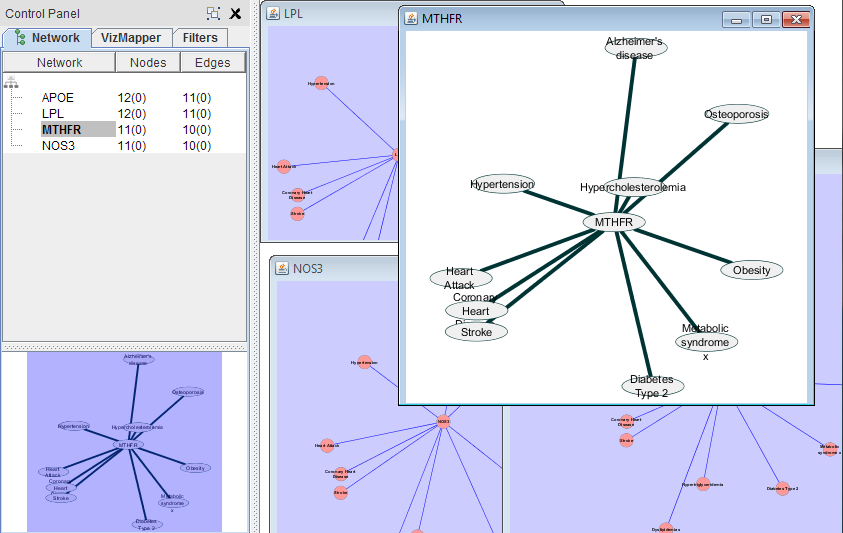
The network manager (in Control panel) shows the networks that are loaded. Clicking on a network here will make that view active in the main window, if the view exists. Each network has a name and size (number of nodes and edges), which are shown in the network manager. If a network is loaded from a file, the network name is the name of the file.
Some networks are very large (thousands of nodes and edges) and can take a long time to display. For this reason, a network in Cytoscape may not contain a ‘view’. Networks that have a view are in normal black font and networks that don’t have a view are highlighted in red. You can create or destroy a view for a network by right-clicking the network name in the network manager or by choosing the appropriate option in the Edit menu. You can also destroy previously loaded networks this way.
Certain operations in Cytoscape will create new networks. If a new network is created from an old network, for example by selecting a set of nodes in one network and copying these nodes to a new network (via the File → New → Network option), it will be shown immediately follows the network that it was derived from.
The available network views are also arranged as multiple overlapping windows in the network view window. You can maximize, minimize, and destroy network views by using the normal window controls for your operating system.
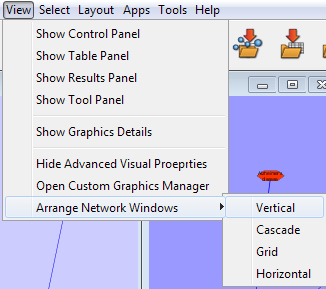
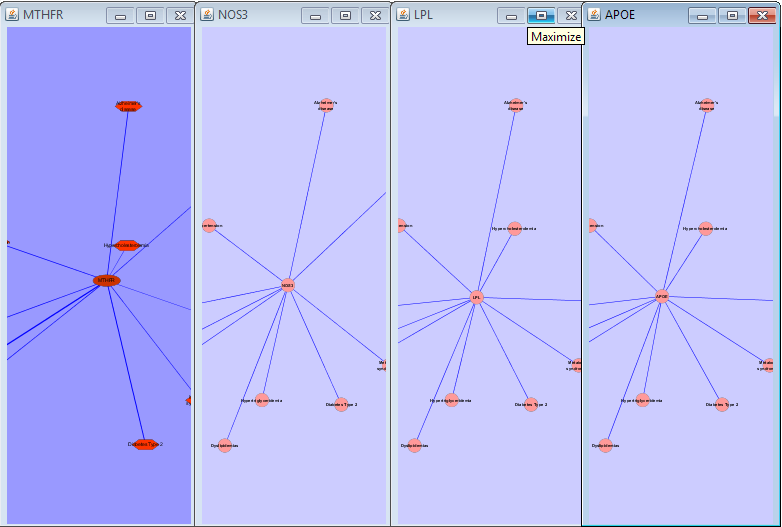
Arrange Network Windows
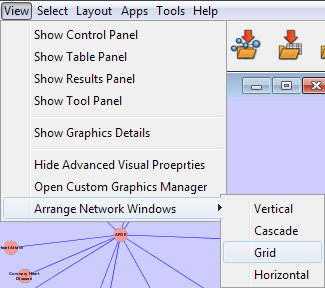
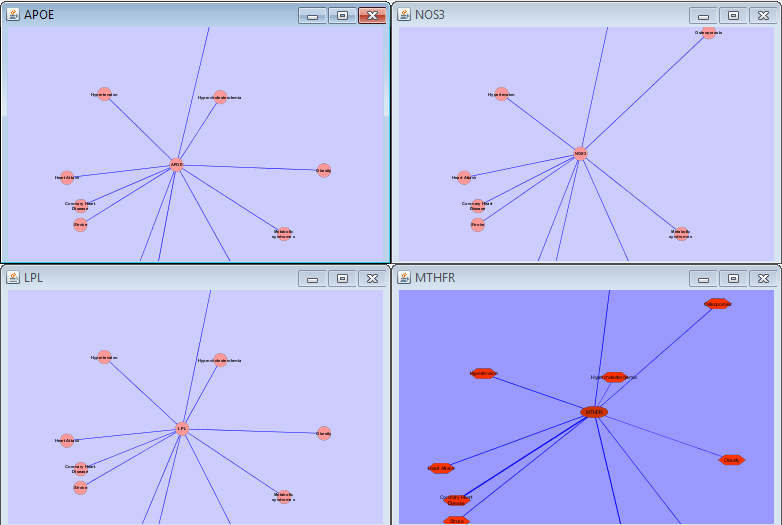
When you work on multiple networks, you can arrange the network view windows from View → Arrange Network Windows. You can re-arrange the network location by these commands.
The Network Overview Window
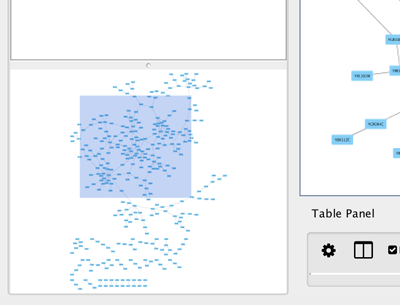
The network overview window shows an overview (or ‘bird’s eye view’) of the network. It can be used to navigate around a large network view. The blue rectangle indicates the portion of the network currently displayed in the network view window, and it can be dragged with the mouse to view other portions of the network. Zooming in will cause the rectangle to appear smaller and vice versa.
