|
← Revision 6 as of 2012-06-25 22:54:57
Size: 3003
Comment:
|
← Revision 7 as of 2012-06-25 22:55:48 →
Size: 2391
Comment:
|
| Deletions are marked like this. | Additions are marked like this. |
| Line 11: | Line 11: |
|
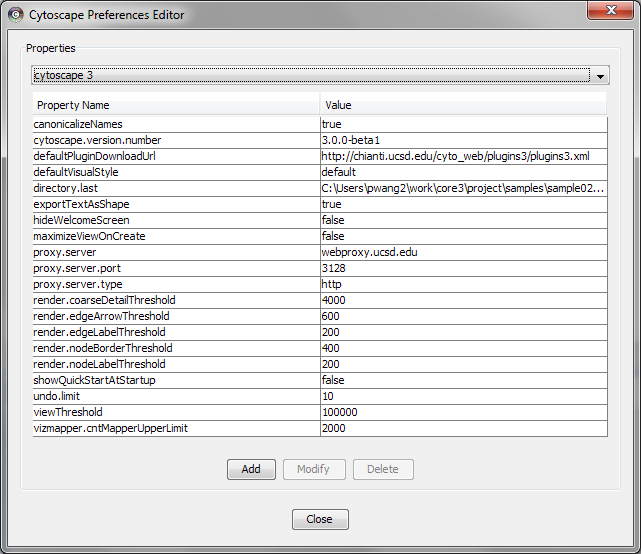
=== Setting Default Properties === It is possible to alter the default properties for Cytoscape. Edit the properties via Edit → Preferences → Properties... and check the Make Current Cytoscape Properties Default checkbox. This will save the current properties to the {{{.cytoscape}}} directory, where they will then be applied to all of your Cytoscape sessions from that point on. Otherwise, Cytoscape will automatically save the properties used in a particular session inside its {{{.cys}}} session file, while the default properties will be applied at the beginning of subsequent sessions. |
Managing Properties
The Cytoscape Properties editor, accessed via Edit → Preferences → Properties…, is used to specify general and default properties. Any changes made to these properties will be saved in the file cytoscape3.props in the .cytoscape directory of user's home. Properties are now stored in Cytoscape session files, so changes to general properties will be saved as part of the current session.
Cytoscape properties are configurable via Add, Modify and Delete operations.
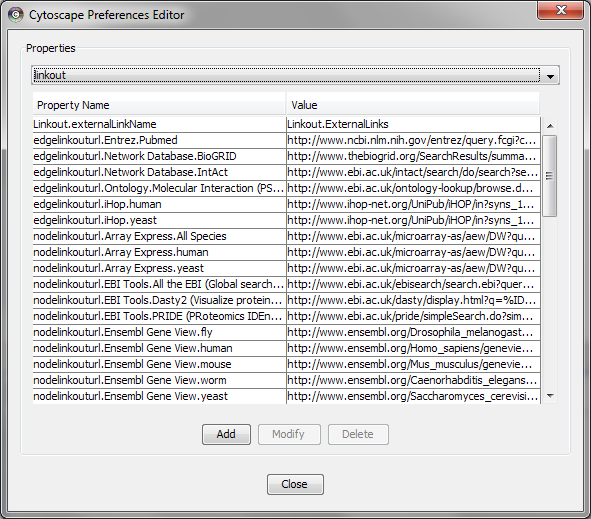
App properties may also be edited in the same way as editing Cytoscape properties. For example, to edit the properties of linkout, select 'linkout' from the combobox of the Preferences Editor.
Managing Bookmarks
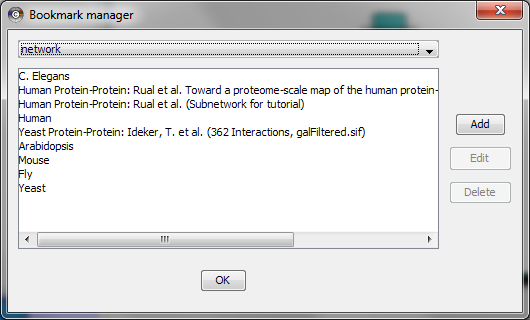
Cytoscape contains a pre-defined list of bookmarks, which point to sample network files located on the Cytoscape web server. Users may add, modify, and delete bookmarks through the Bookmark manager, accessed by going to Edit → Preferences → Bookmarks… .
There are currently two types of bookmarks: network and annotation. Network bookmarks are URLs pointing to network files available on the Internet. These are nomal networks that can be loaded into Cytoscape. The annotation bookmarks are URLs pointing to ontology annotation files. The annotation bookmarks are only used when importing an ontology.
Managing Proxy Servers
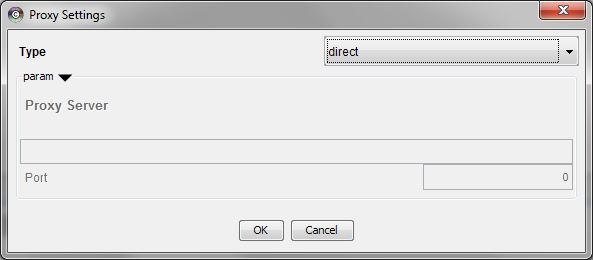
You can define and configure a proxy server for Cytoscape by going to Edit → Preferences → Proxies… .
After the proxy server is set, all network traffic related to loading a network from URL will pass through the proxy server. Other plugins use this capability as well. The proxy settings are saved in cytoscape.props. Each time you click the Update button after making a change to the proxy settings, an attempt is made to connect to a well known site on the Internet (e.g., google.com) using your settings. For both success and failure you are notified and for failure you are given an opportunity to change your proxy settings.
If you no longer need to use a proxy to connect to the Internet, simply uncheck the Use Proxy checkbox and click the Update button.


